Import the Certificates in the Windows Store using MMC
Open the Microsoft Management Console (MMC) from the Windows Start menu or command prompt. NOTE: Only users with administrator privileges can use the MMC. If the UAC (User Account Control) is enabled, it may happen that you are prompted for administrator password or confirmation.
The MMC opens.
On the File menu of MMC console, click Add or Remove Snap-in.
The Add or Remove Snap-ins dialog box displays.
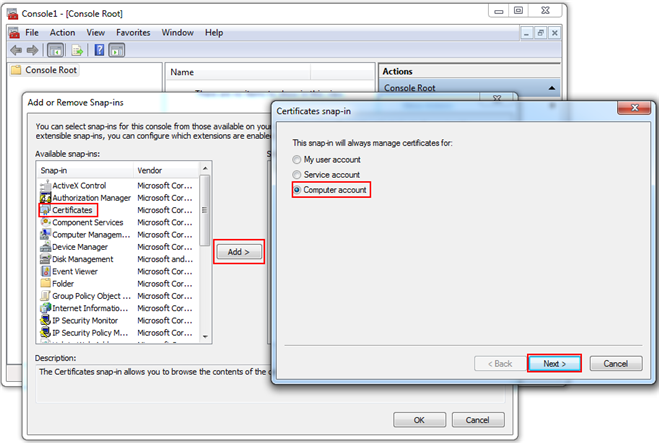
Do the following to add the Certificates in the Add or Remove Snap-ins dialog box:
From the list of Available snap-ins, select Certificates and click Add.
In the Certificates snap-in dialog box that displays, select the option Computer account and click Next, and then Finish.
In the Add or Remove Snap-in dialog box, click OK.
The Certificate snap-in is added in the MMC.
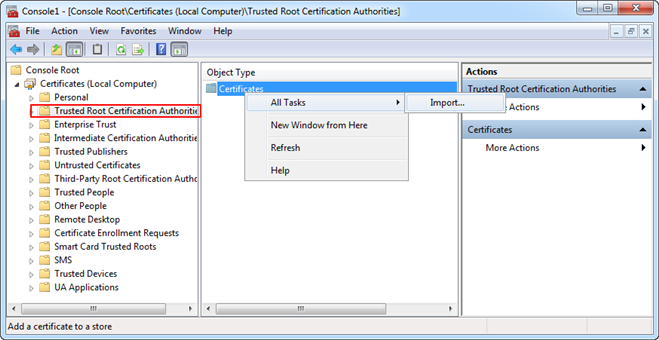
Next, in MMC, you need to import a .pfx certificate (root/self-signed). For this, in the MMC Console tree, select Certificates > Trusted Root Certification Authorities for importing the root and self-signed certificate.
Under Object Type,select Certificates, and right-click, and from the menu that displays select All Tasks > Import to open the Certificate Import Wizard dialog box.
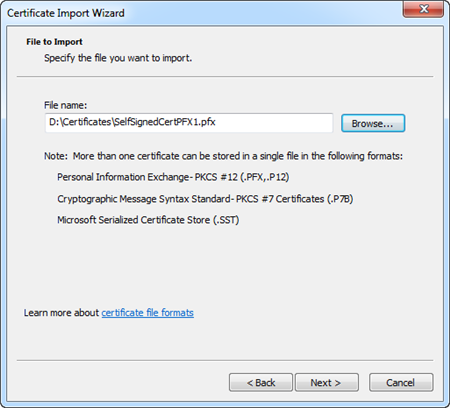
In the Certificate Import Wizard dialog box, browse the certificate file to be imported. Click Next. NOTE: When browsing the pfx file in the Open dialog box, make sure you have selected All Files (*.*) as file type.
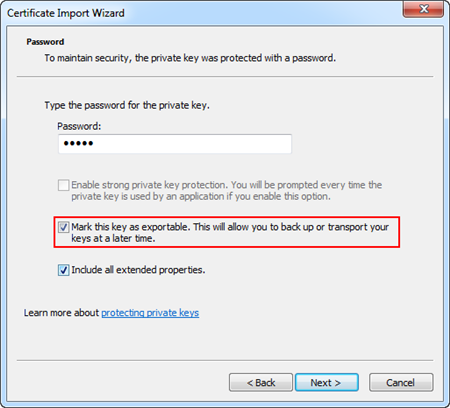
Select the Mark key as exportable check box for self-signed certificate pfx file import. This allows you to back up or transport your keys at a later time.
Click Next and then Finish.
The selected certificate (root or self-signed) is imported successfully to the selected store.